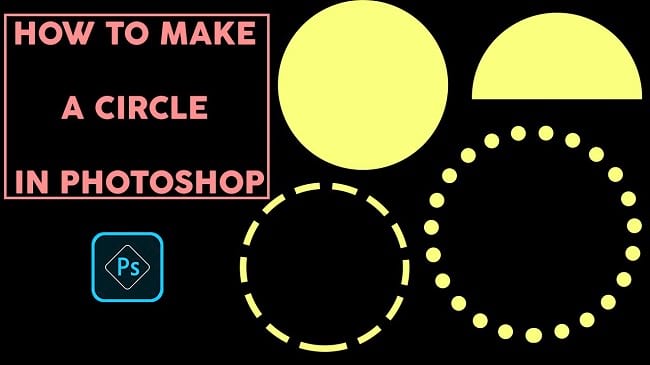
The basic thing of making any design is using the shape or line. By using the shapes, you can make drawings, symbols, watermarks and many more. If you want to make various shapes, photoshop has dedicated tools and features to do this. In this tutorial article, I am going to show you How to make shapes in Photoshop. So, read this article till the end and follow the steps with care, you will get easy instructions from this article, you will be able to do it. So, let’s see how to make shapes:
How to add shapes in photoshop 2023
Step 1: Create a New Document
Now, create a new document. To do that, go to the “File” menu and then select the “New” option. You will see that a window has appeared where you can choose a preset canvas or create a custom canvas. There are various preset sections available like photos, print, Art & Illustration, Web, Mobile, and Film & Video. So, go to one of those sections, select the preset canvas whichever you want and click on the “Create” button. If you want to create a custom one, give “Width” and “Height” size and click on the “Create” button. A new document will be created afterward.
Step 2: Insert Shape in the Document
- If you want to insert a shape in your document, go to the left side tools panel and right click on the “Rectangle Tool”. You will see various options like “Rectangle Tool”, “Ellipse Tool”, “Rounded rectangle tool”, “Polygon tool”, “Line tool” and “Custom shape tool”. In the “Custom shape tool”, you will find more shapes, so you can pick shapes from there as well.
- If you choose the “Custom shape tool”, then go to the top bar and click on the “Shape” option, you will find the custom shapes. After selecting the shape, click and drag with the mouse in the document. You will see the shape is created. But it is only the shape, you have to give color to make it visible.
- To change the color of the line of the shape, go to the top bar, select the “Fill” option & select “No color”, then go to the “Stroke” option, select the color and then increase the stroke size. To fill the shape with a color of a shape, go to the top bar, then select the “Fill” option and select your color.

Step 3: Some Shape Tricks
Above we have mentioned how to insert shapes in a photo or document. Now, we will see some amazing tricks to make the shapes more beautiful.
Thicken the Shape
- Go to the left side’s tools panel and right click on the “Rectangle Tool” and select the “Rectangle Tool” or you can choose other shapes.
- Now, if you want to make any rectangular shape, simply click and drag with the mouse in the document. You will see the rectangular shape is created.
- If you want to make a square shape, press & hold the “Shift” button from the keyboard and then click & drag with the mouse in the document. You will see the square shape is created.
- Now, we will increase the thickness of the shape. To do that, Go to the properties panel. If the properties panel is inactive, go to the “Window” menu and select the “Properties” option
- From the properties panel, go to the “Set shape stroke width” option, you can thicken the line in two ways. One, type pixel amount in the field. And the other one, click on the down arrow and slide the slider. Rectangular line will thicken afterward.
Fill the Shape
If you want to thicken the circle line,
- Go to the properties panel.
- Now, click on the “Set shape fill type” option, then click on the “Solid color” icon and you will see the color picker has appeared.
- So, pick any color from the color palette.
- Shape will be filled with color afterward.
Reverse the Shape’s Filled Color in Outside of Shape
- Go to the layer panel, select the shape layer.
- Then go to the properties panel. You will see four icons in the bottom of the properties panel. So, select the “Subtract front shape” option.
- You will see that the color of the shape fill is spreaded outside of the shape and outside color becomes the shape’s color.
Round the Corner of Rectangular Shape
- Go to the properties panel.
- Now, put the amount in the radius options, you will find four corner radius options there.
- Rectangular shape’s corner will be rounded afterward.
Make the Shape with Dash or Dot
If you want to make the shape with dash and dot,
- First, insert a shape. How to insert a shape, I have mentioned above.
- Now, go to the properties panel.
- Then, click on the “Shape options” option which is the fourth option, then click on the dash or dot and you will see the circle is made with dash and dot.
Video Tutorial about “How To Make Shapes In Photoshop” who really don’t want to read whole article just follow below video.
That’s how you can make shapes in photoshop. Above I have mentioned the process of making shapes, thicken shapes, fill shapes and other shape related techniques. This is the most easiest thing you can do. I hope you have understood How to make shapes in Photoshop. This is a very easy technique to use. You can use the shapes to make watermark.

