When you capture photos, you may see some photos have grain effects. It can happen due to low lights or camera configuration or lack of brightness or other causes. Photo denoising technique is to reduce or eliminate the noise from a noisy photo and restore the true photo. If you have such photos and want to get rid of the noise, you can do it easily with photoshop.
In this tutorial article, I am going to show you How to reduce noise in photoshop. So, read this article till the end and follow the steps with care, you will get easy instructions from this article, you will be able to do it. So, let’s see how to reduce noise:
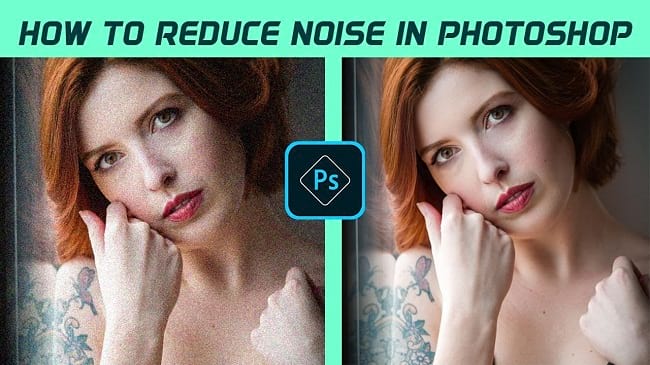
How to reduce noise in Photoshop
Step 1: Open Your Photo in Photoshop
First of all, you have to insert your photo in photoshop. To do this, go to the “File” menu and select the “Open” option. Then, go to your image location and select your image and then click on the “Open” button.
Step 2: Duplicate the Background Layer
To duplicate the layer, go to the layer panel, right click on the background layer, select the “Duplicate layer” and click on the “OK” button. Or, select the background layer, then go to the “Layer” menu, select the “Duplicate layer” option and then click on the “OK” button. Or, click & hold the background layer and drag it towards the “Create a new layer” button from the bottom. Your background layer will be duplicated.

Step 3: Reduce Noise
- After duplicating the layer, go to the layer panel, right click on the duplicate layer and select the “Convert to smart object” option.
- Now, go to the “Filter” menu, then go to the “Noise” option and then select the “Reduce noise” option. A window will appear. From that window, select the “Basic” settings. Then, increase the “Strength” level to “10”, reduce the “Preserve Details” level to “0%”, increase the “Reduce color noise” level to “100%”, and decrease the “Sharpen details” level to “0%”. After that, click on the “OK” button.
- Go to the “Filter” menu again, then go to the “Blur” option and then select the “Surface blur” option. A window will appear. From that window, set the “Radius” level between 2 pixels to 5 pixels, and set the “Threshold” level between 5 levels to 10 levels. After that, click on the “OK” button.
- Go to the “Filter” menu again, then go to the “Sharpen” option and then select the “Smart sharpen” option. A window will appear. From that window, decrease the “Amount” level to “1%”, decrease the “Radius” level to “0.0px”, and set the “Reduce noise” level to between 7% to 10%. After that, click on the “OK” button.
- You will see that noise is reduced from your image.

Video Tutorial about “How To Reduce Noise In Photoshop” who really don’t want to read whole article just follow below video.
That’s how you can reduce noise from a photo in photoshop. In this tutorial I have shown you the process of reducing the noise of an image. Here, I have described the way of duplicating the background layer, using the smart object option, different filter options to reduce noise and many more. I hope you have understood How to reduce noise in photoshop. This is a very easy way to reduce the photo noise.