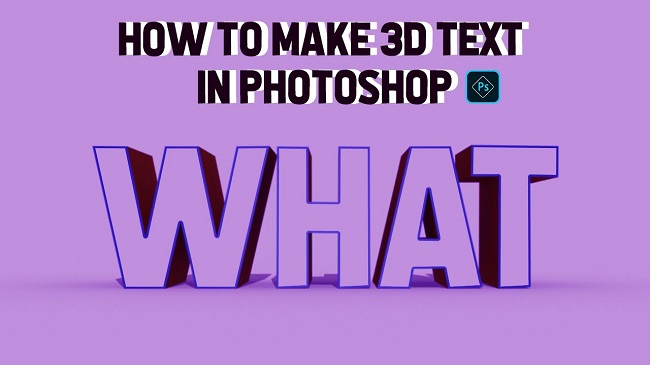
3D text is always a fascinating subject for photoshop users. It can bring out the creativity of a designer. If you want to learn How to make 3d text in Photoshop, I am going to guide you with this tutorial. In this tutorial, I am going to show you How to make 3d text in Photoshop. So, read this article till the end and follow the steps with care, you will be able to do it. It is a way to make 3D text. So, lets see how to do it:
How to make 3d text in photoshop tutorial
Step 1: Create New Document
First of all, create a new document. To do that, go to the “File” menu and then select the “New” option. You will see that a window has appeared where you can choose a preset canvas or create a custom canvas. There are various preset sections available like photos, print, Art & Illustration, Web, Mobile, and Film & Video. So, go to one of those sections, select the preset canvas whichever you want and click on the “Create” button. If you want to create a custom one, give “Width” and “Height” size and click on the “Create” button. A new document will be created afterward.
Step 2: Add Text in New Document and Make 3D Text
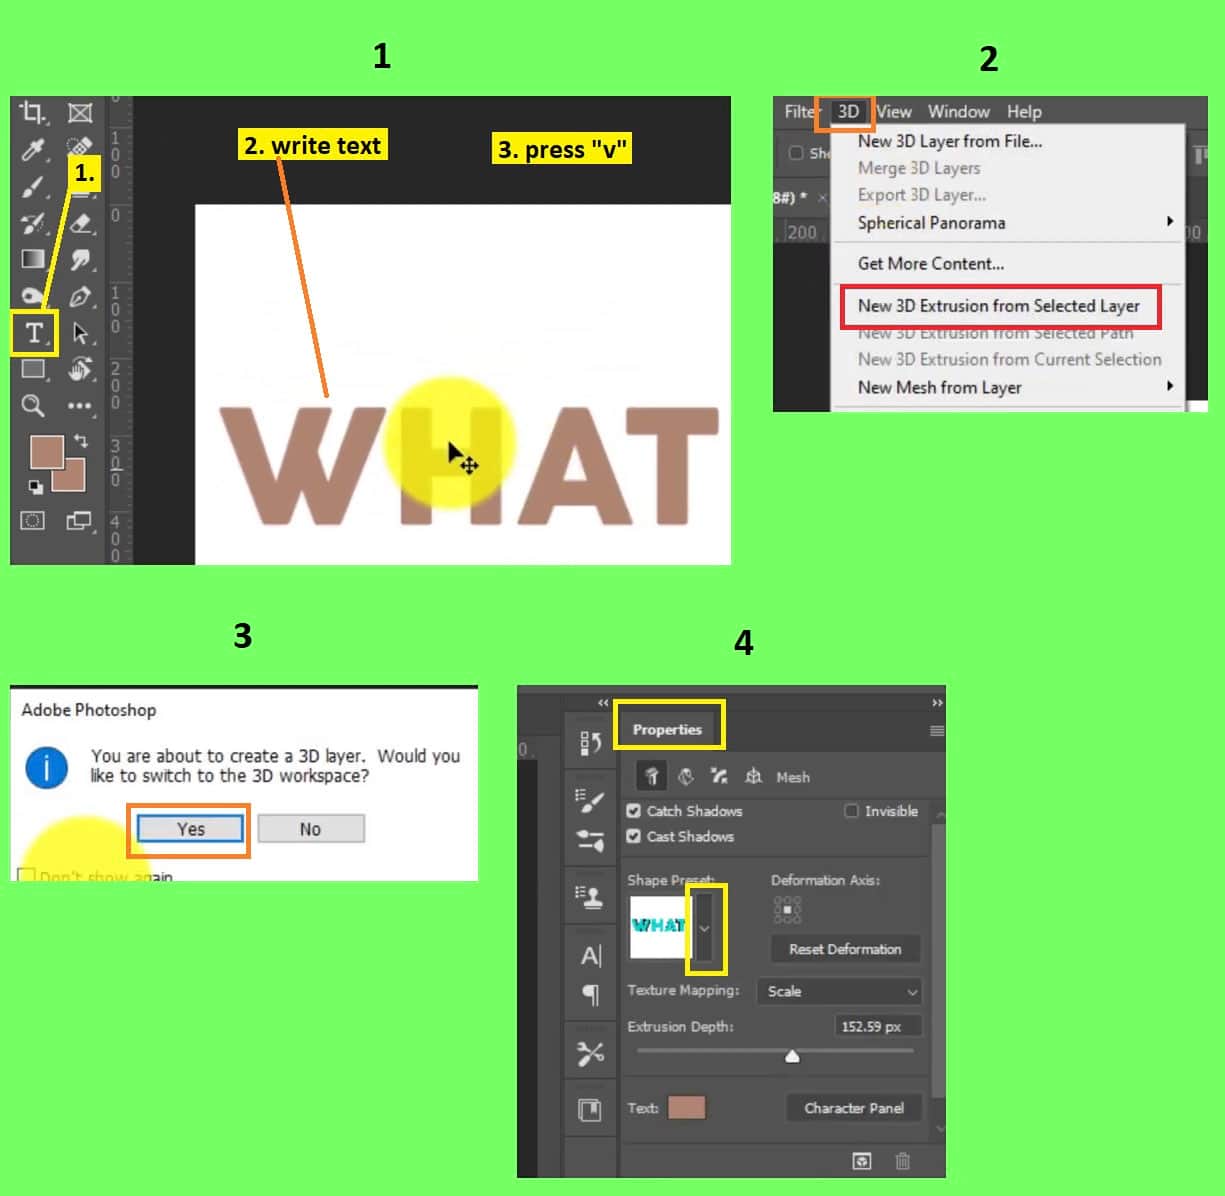
- Now, you have to write the text. To do that, click on the text icon which is “T” from the left side tools panel. Or, alternatively, simply press the “t” button from your keyboard, the text tool will activate. Then, click on your document and write your text.
- Now, increase the size of the text if you want. To increase the size, first select the move tool from the left side tools panel. Then select the text layer and then press “CTRL+T” from the keyboard. Now click & hold the corner of the text and increase the size as per your preference. After resizing the text, press “Enter” from the keyboard or press “v” from the keyboard to stop the free transformation. “V” in photoshop is selecting the “Move tool”
- Now, go to the “3D” menu and select the “New 3D extrusion from selected layer” option. A dialog box will appear. Click on the “OK” button. A “3D” panel will appear.
- Your text will be transformed into 3D primarily.
- Now, go to the “Window” menu and click on the “Properties” option. A “Properties” panel will appear. You will see various configurations there.
- Now, go to the “3D” panel and select the text layer and then go to the “Properties” panel and click on the “Shape preset” option. Now, choose whichever design you want.
- If you want to increase or decrease the “Extrusion depth”, just slide the slider left or right.
- Now, if you want to increase or decrease the shadow of the text, go to the “3D” panel and select the “Infinite light” layer and then go to the “Properties” panel and slide the “Shadow” option.
- If you want to see the 3D effect from all sides, click & hold the text with the mouse and hover.
- If you want to adjust more, go to the layer panel, select the text layer, go to the “Window” menu and click on the “Properties” option. Now, you can change the glow, metallic, roughness etc.
- Go to the “3D” panel again, select the “Environment” layer, go to the “Window” menu and click on the “Properties” option. Now, you can change color and other things from there.
- So, that’s it.
Video Tutorial about “How To Make 3D Text In Photoshop” who really don’t want to read whole article just follow below video.
That’s How you can make 3d text in Photoshop. I hope you have understood How to make 3D text in photoshop. Always remember that there is no alternative to try and practise in order to learn photoshop. So, try and practice over and over again, you will be able to do it easily.